How to Make Chopsticks & Jig
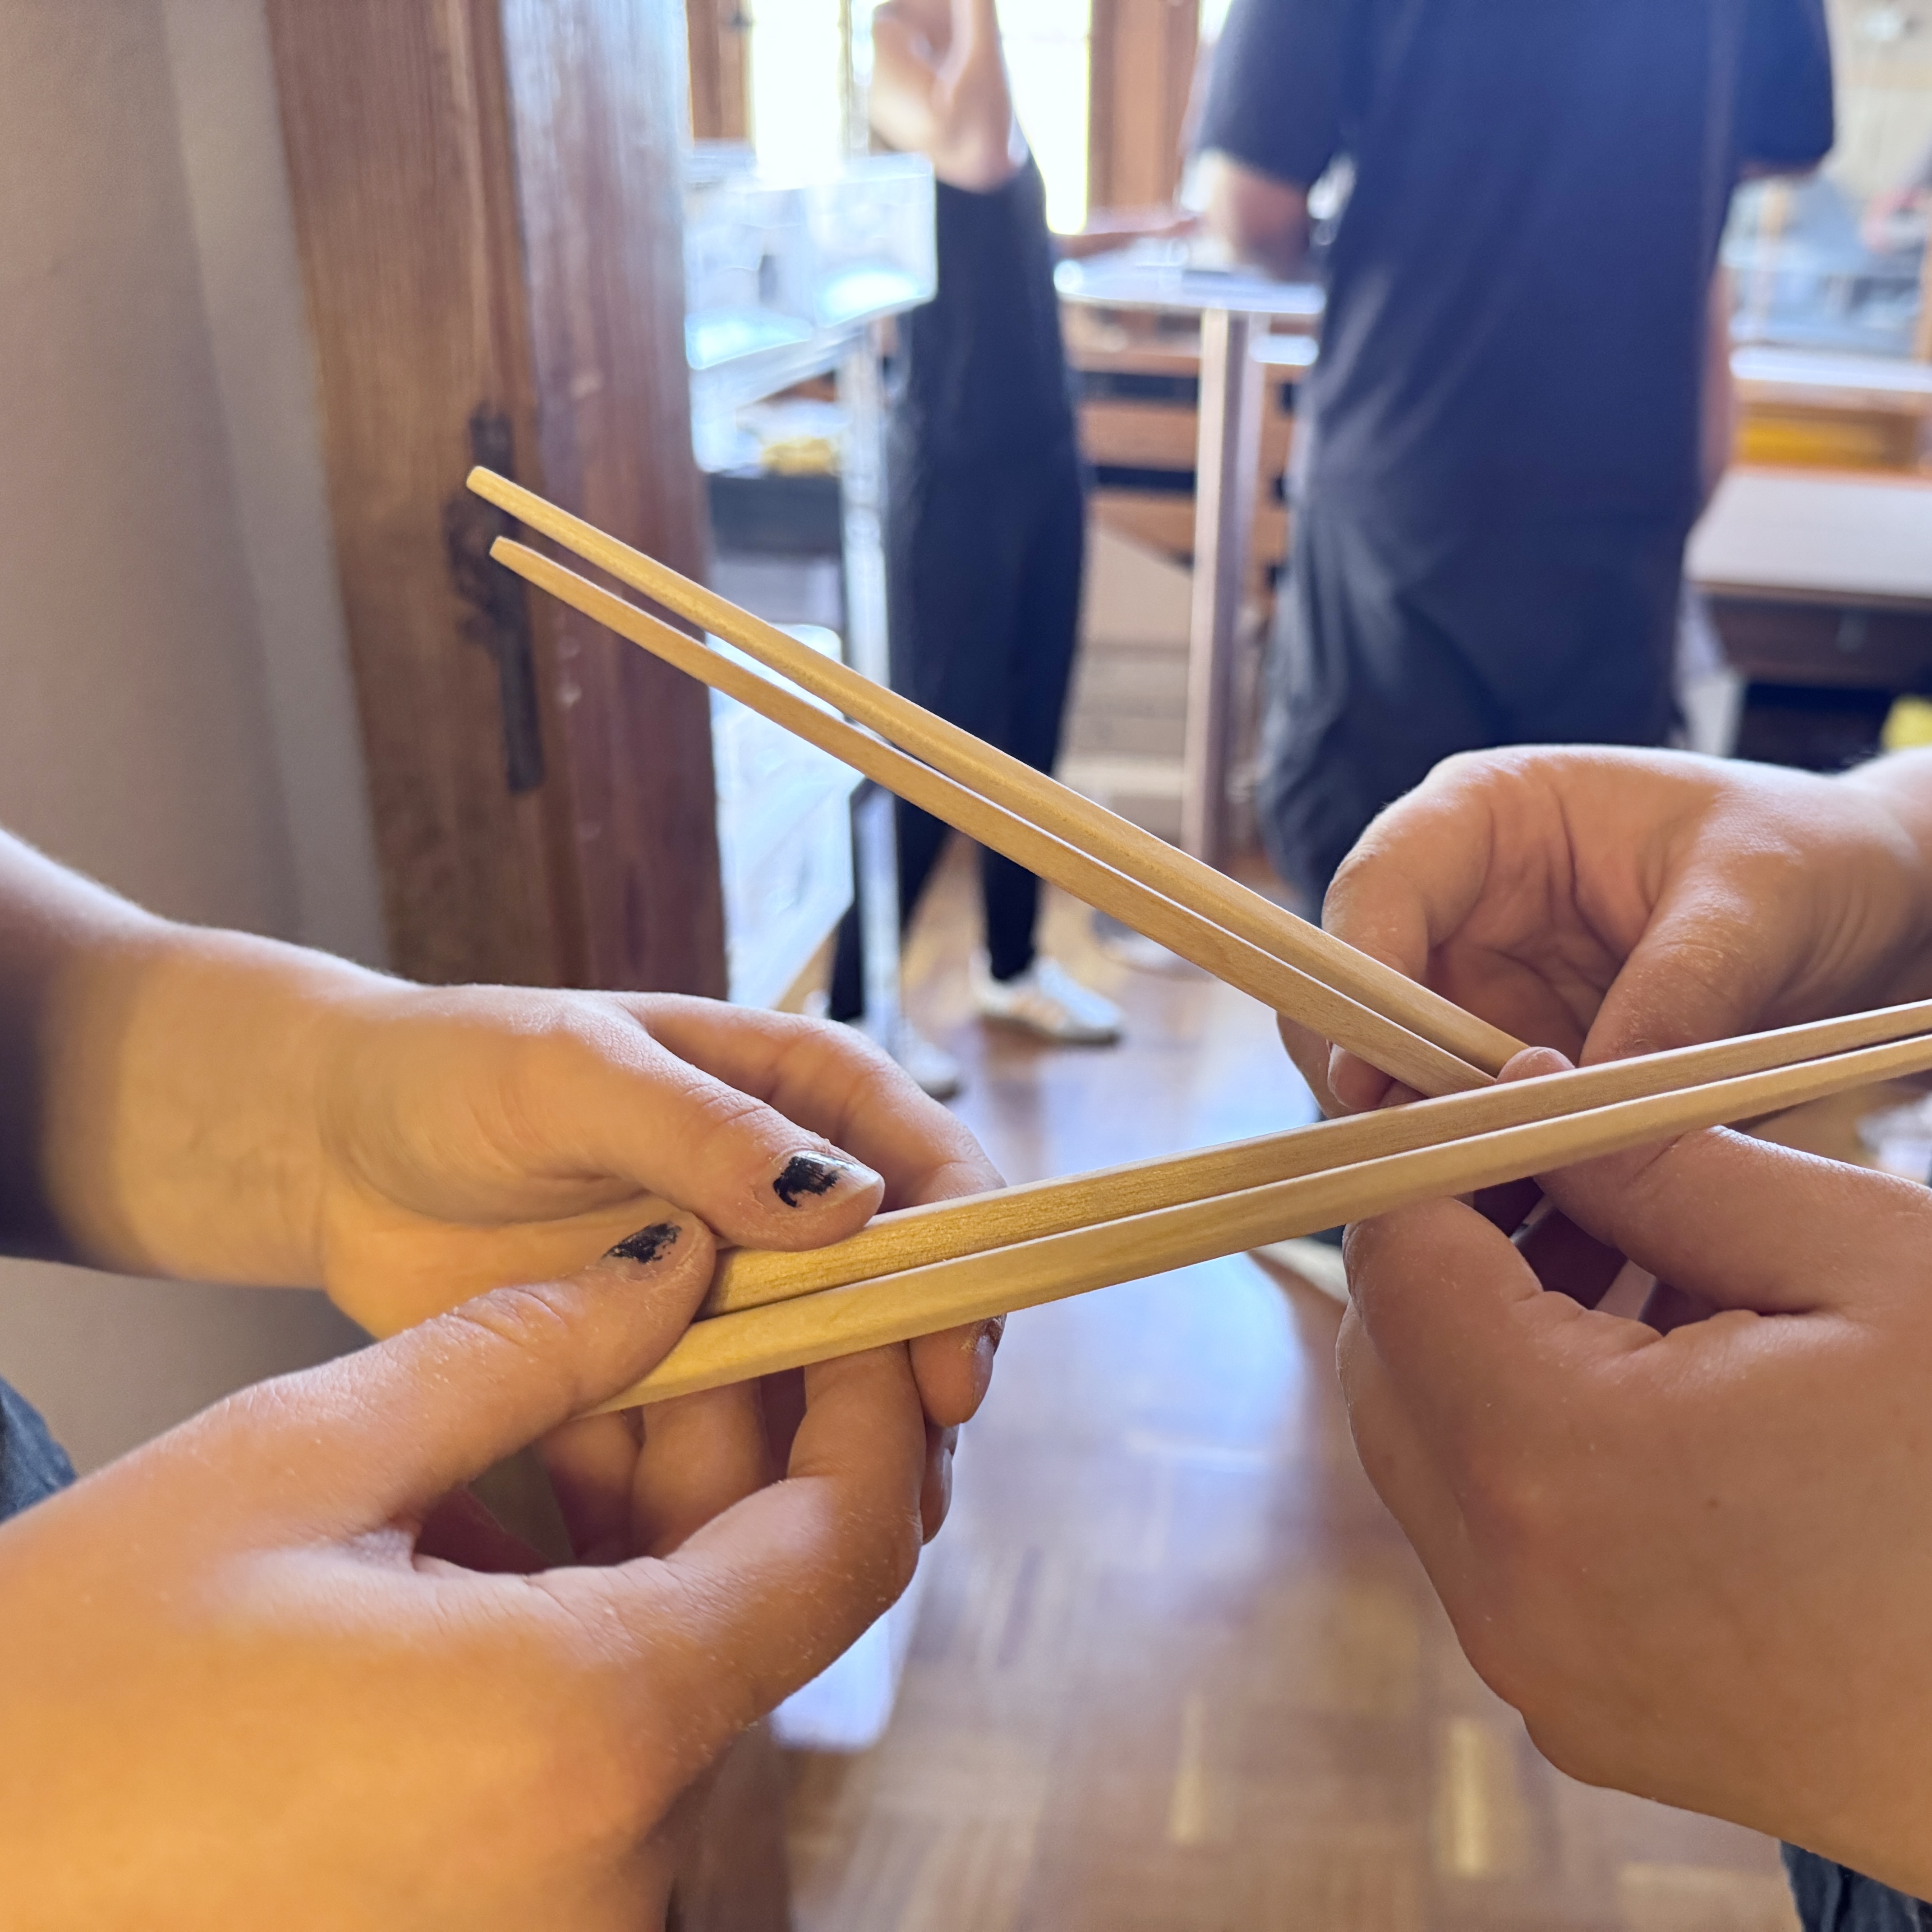
With the support of the City of Chemnitz, one of the European Capitals of Culture 2025, together with Bona Mondo UG, I developed a chopstick-making jig as an experiment connecting Japanese food culture with Saxony’s strong woodworking tradition. In summer 2026, we held two workshops where participants made their own chopsticks.
About the workshops:
Here, I’m sharing how to make the jig and how to use it to make chopsticks.
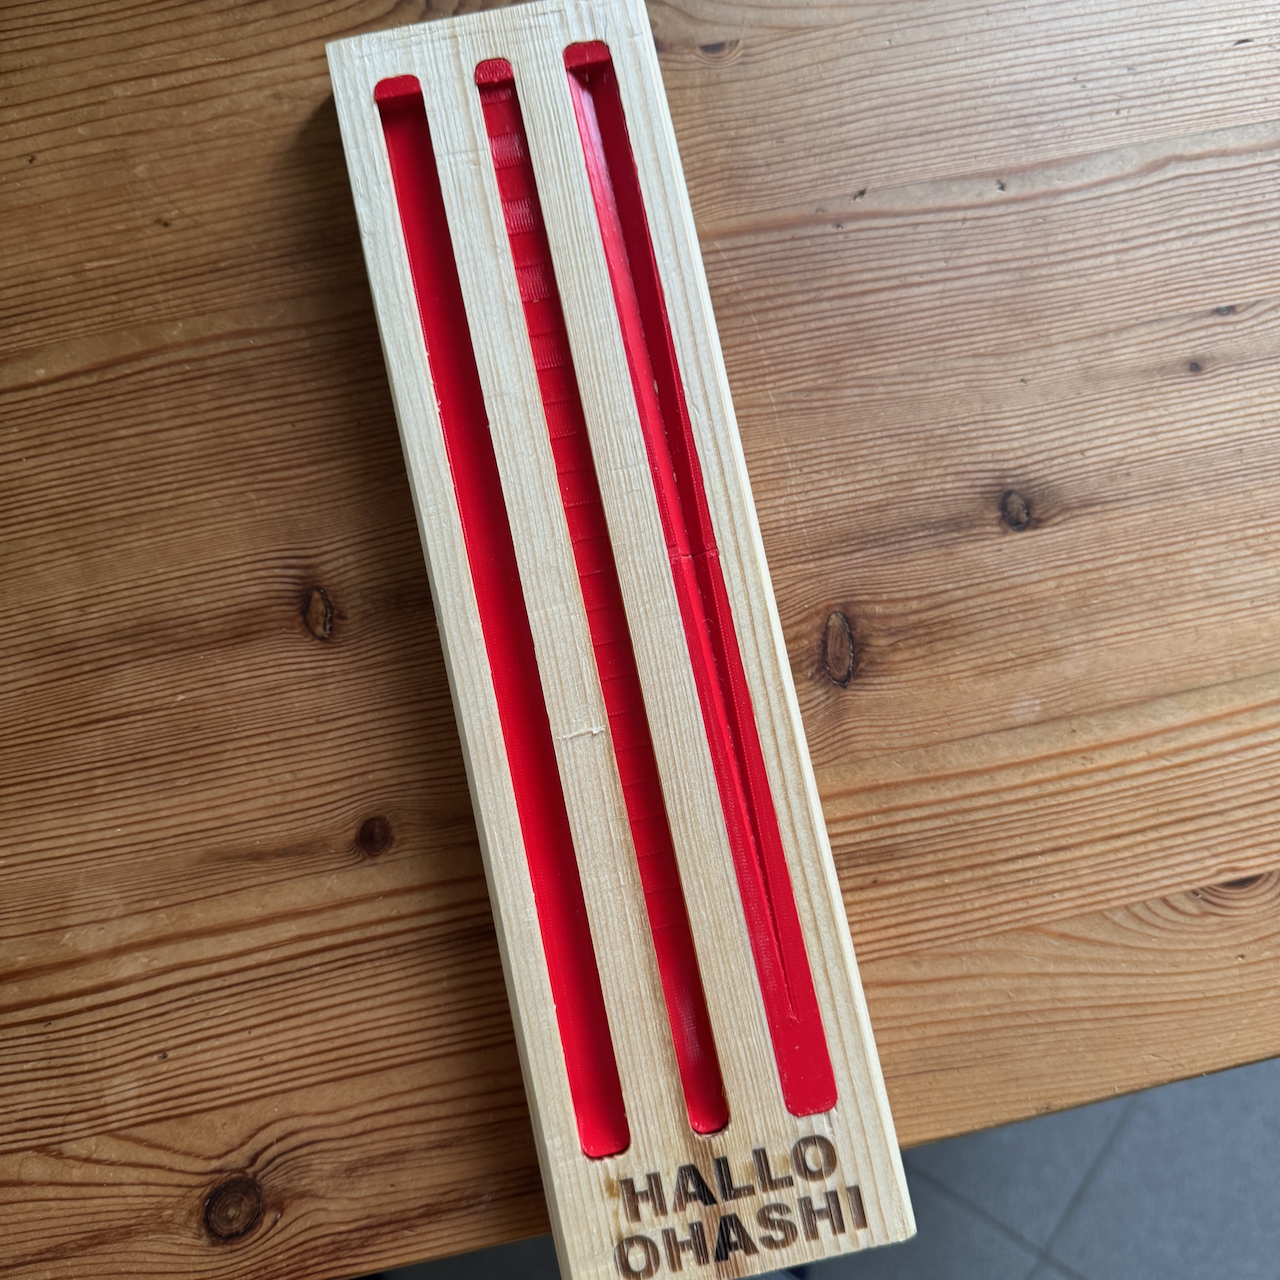
The final version of the jig consists of a wooden base made with a Shaper Origin handheld CNC, fitted with an insert 3D-printed in TPU. If you don’t have access to a Shaper Origin or a 3D printer, you can also make a simpler version entirely from wood, so I’ll explain that method as well.
How to Make the Jig Using a CNC and 3D Printer
Tools and Materials
Tools
- CNS machine (we used Shaper Origin)
- 3D printer (we used Bambu A1 mini)
Materials
- Wood for the base: approx. 75 mm × 300 mm × 25 mm
- TPU filament for the inserts
- A small piece of wood for the bench hookmm x 10mm x 70mm
Cut the Recesses in the Base
Use the SVG file below to cut three recesses into the wooden base:
https://hub.shapertools.com/design/6a918df37b9d6fffcce83e31
Each recess has a different purpose:
- Left: for correcting slight variations in the size or shape of the square wooden blank
- Center: for shaping the chopstick so that it gradually tapers toward the tip
- Right: for rounding the edges of the finished chopstick
The cutting depths are, from left to right: 7.1 mm, 8.1 mm, and 7.1 mm.
Optional: Add an Engraving
This is not necessary for the function of the jig, but you can engrave a name, pattern, logo, or other design into the wooden base to personalize it.
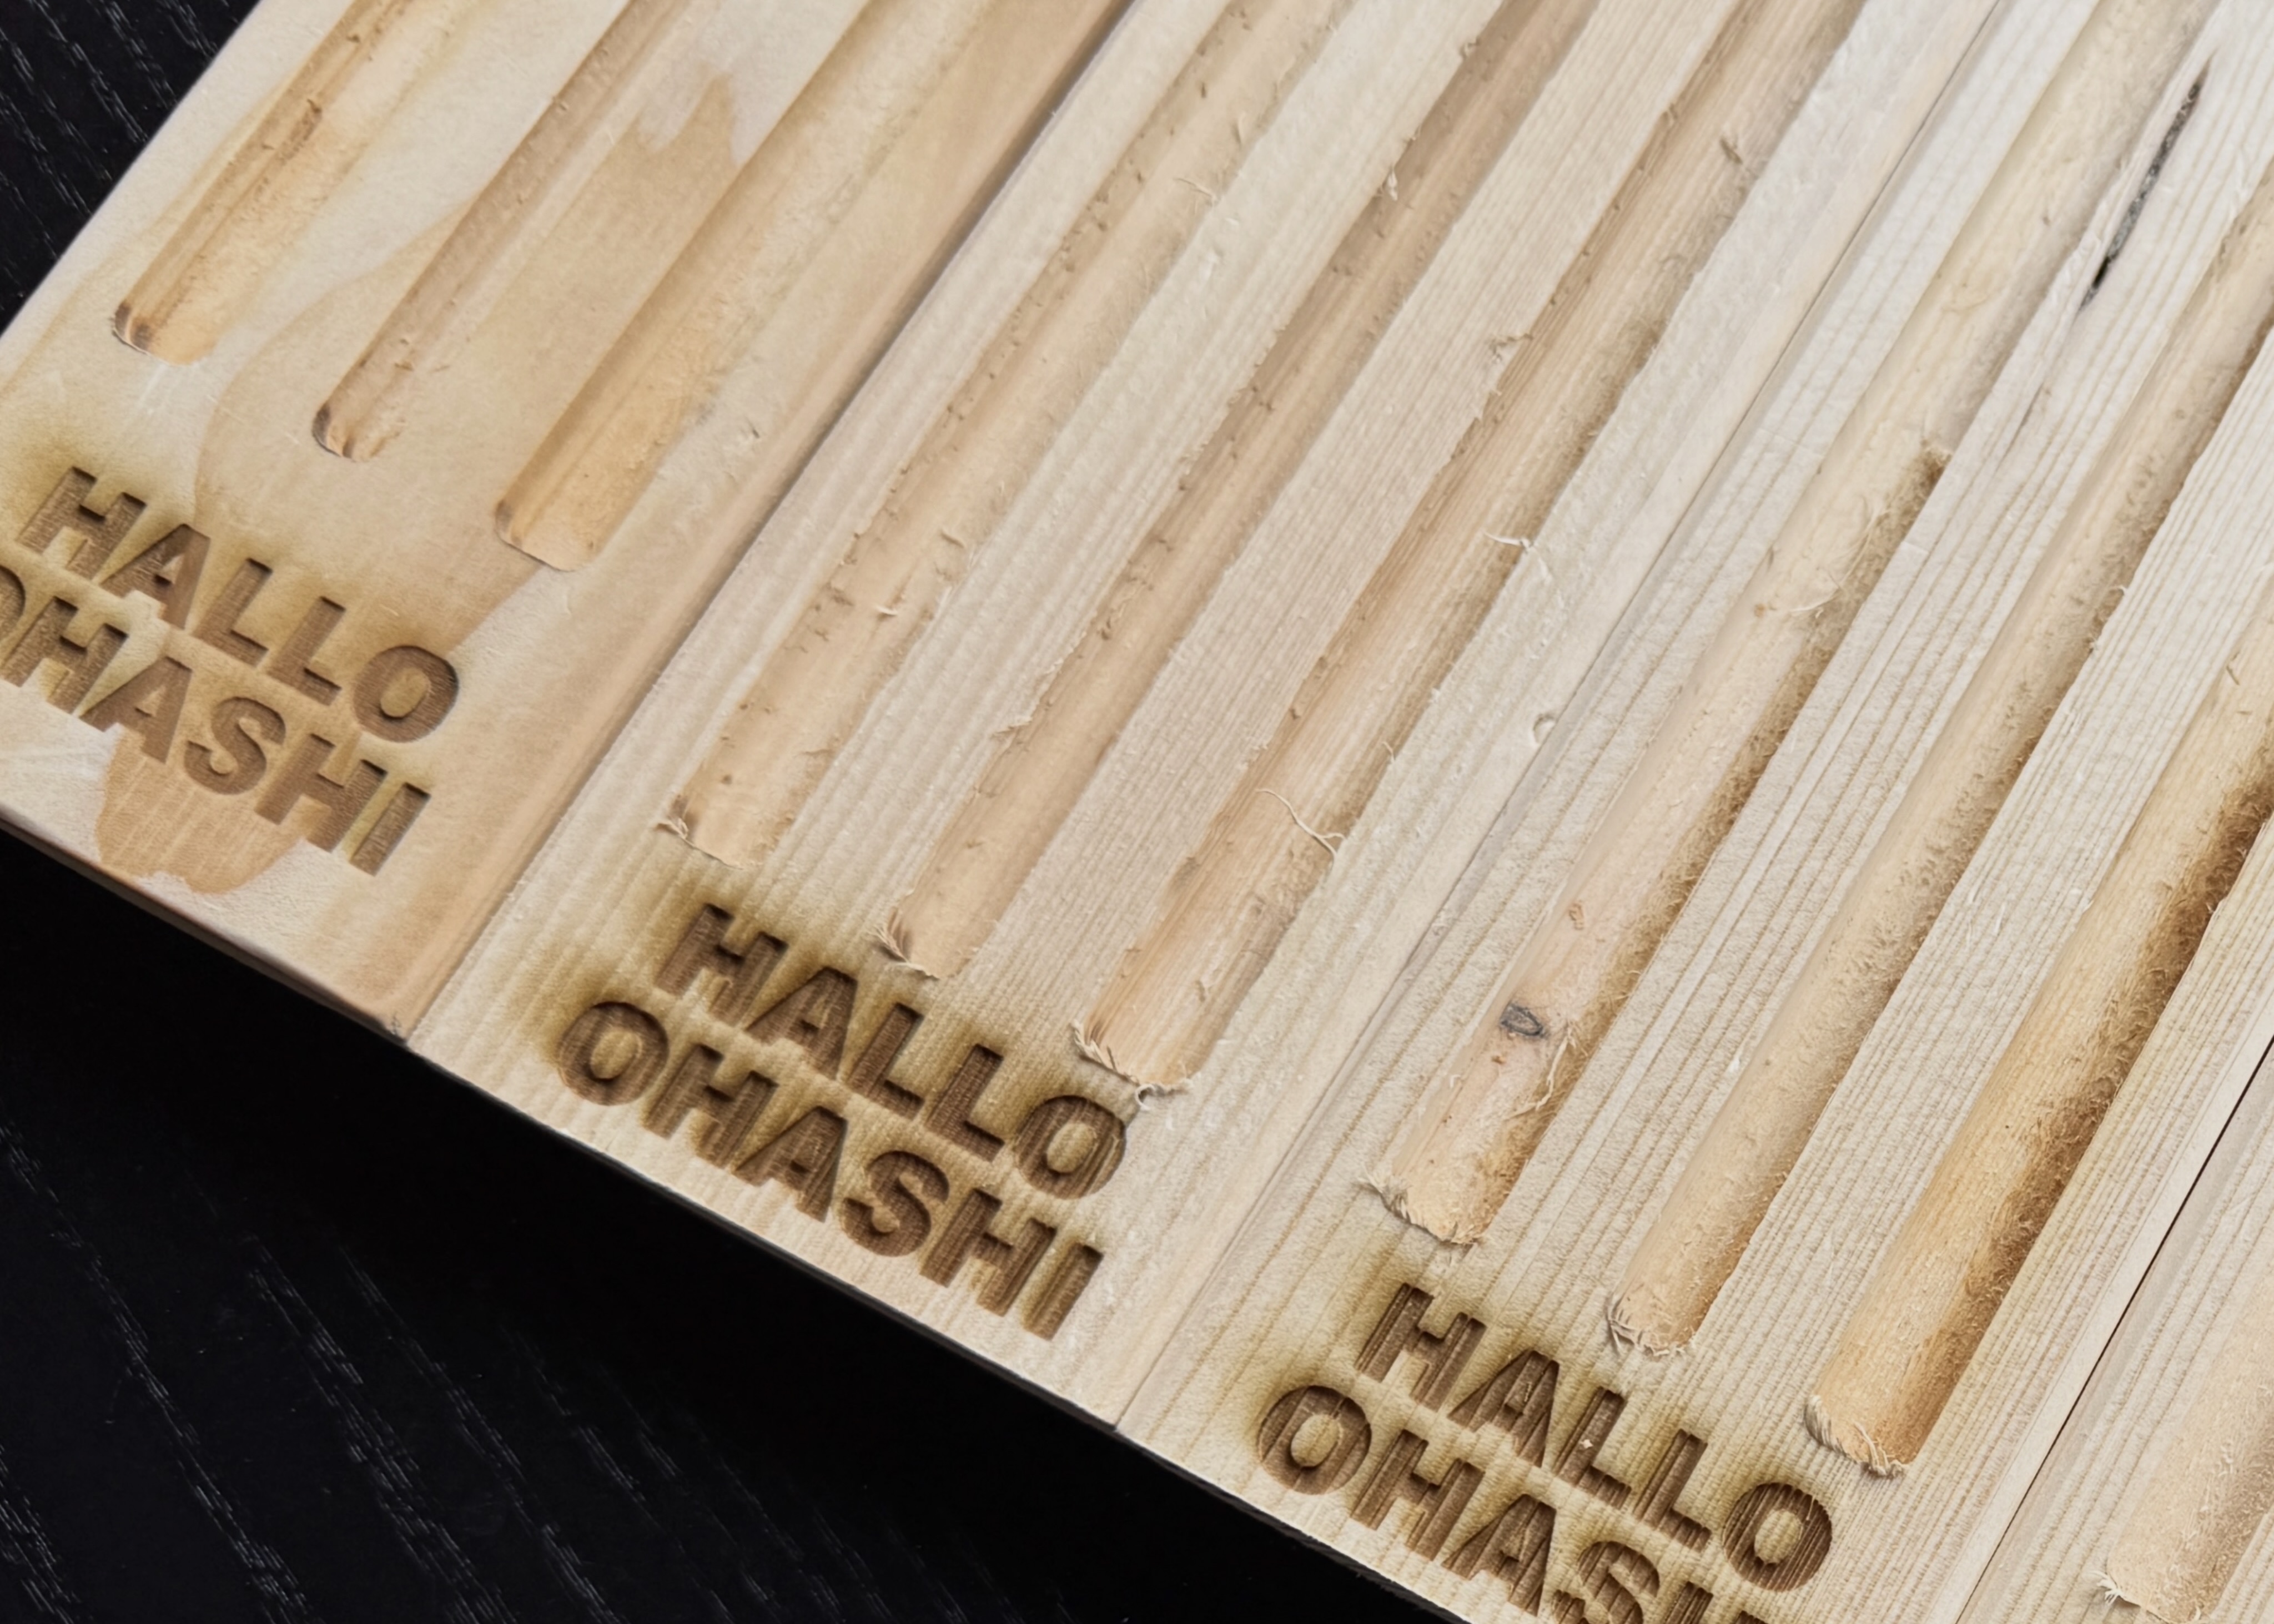
If you are using a Shaper Origin, it is convenient to do the engraving at the same time as cutting the recesses. We engraved the name of the tool "HALLO OHASHI", which means "hello, chopsticks" in a funny mixture of German and Japanese, with a laser cutter.
3D Print the Inserts
Download the insert files from the link below and print them using TPU filament:
https://cults3d.com/en/3d-model/tool/chopsticks-jig-inserts
If your 3D printer has a small build plate, try placing the model diagonally so that it fits.
Once printed, insert the TPU parts into the three recesses in the wooden base.
Attach a Bench Hook
To keep the jig from sliding forward while using a hand plane, attach a small wooden stop to the underside of one end of the base. The stop hooks supports the jig to stay stable without using clamps.
Adjust the position of the bench hook depending on the direction in which you use your hand plane. With a Japanese plane, which is pulled toward you, attach the hook at the upper end of the jig. With a Western-style plane, which is pushed away from you, attach it at the lower end.
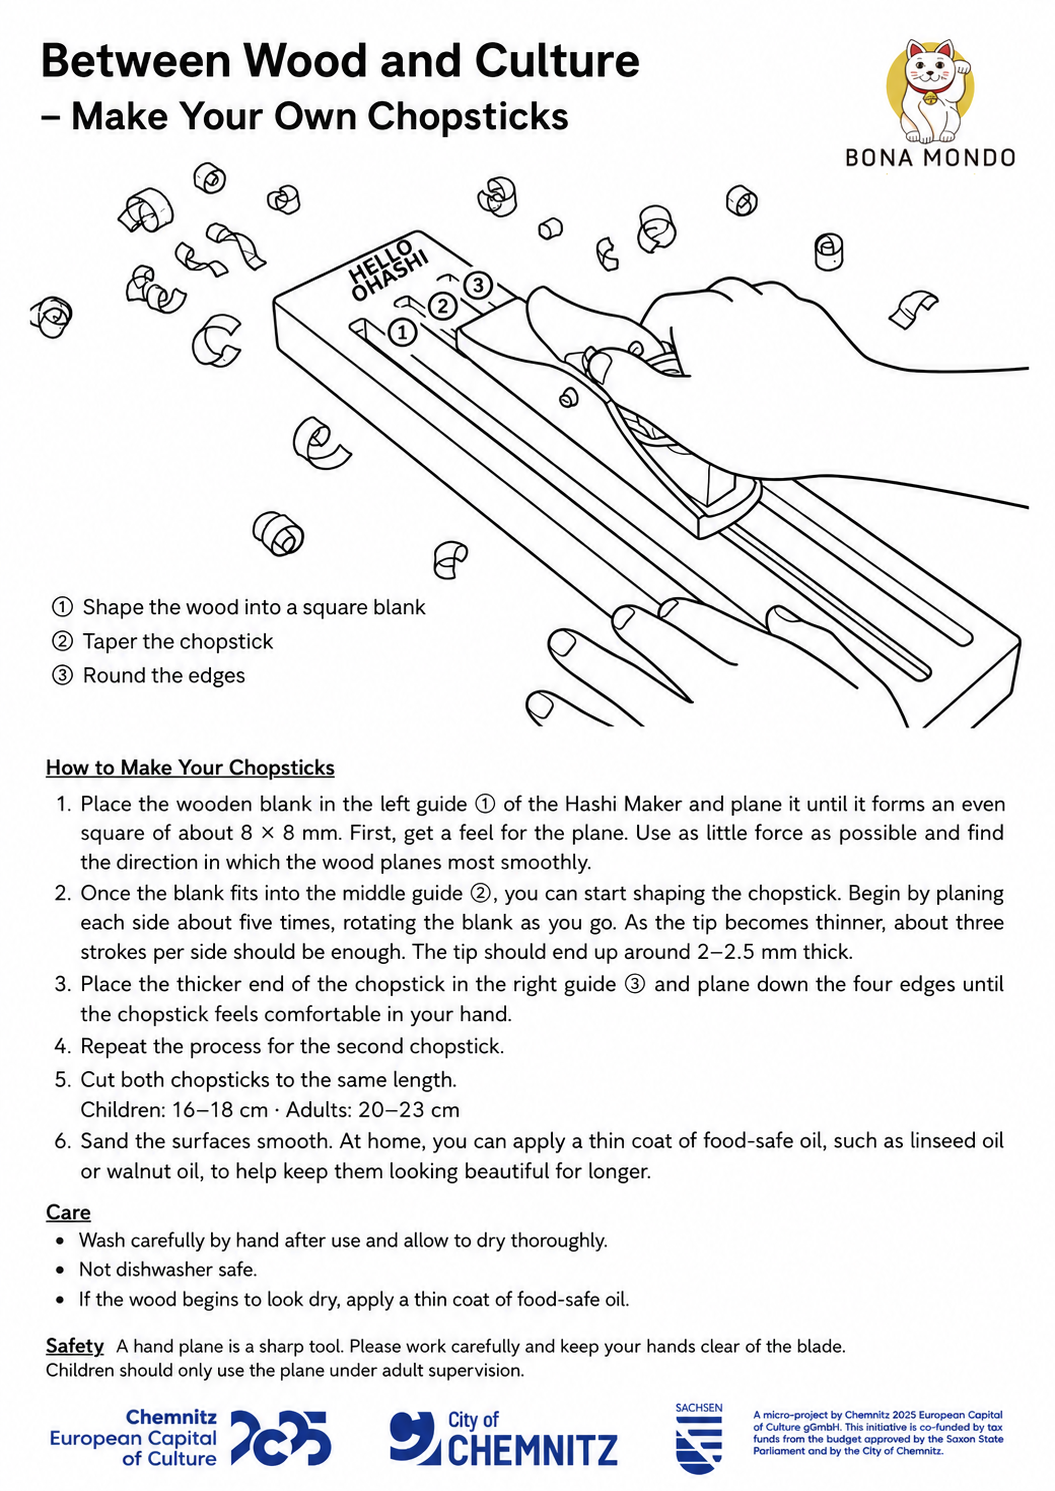
How to Use the Chopsticks Jig
The printable versions in EN/DE/JP are available on Canva: https://canva.link/27fog2r972se7xe
How to Make a Simple Jig without Special Tools
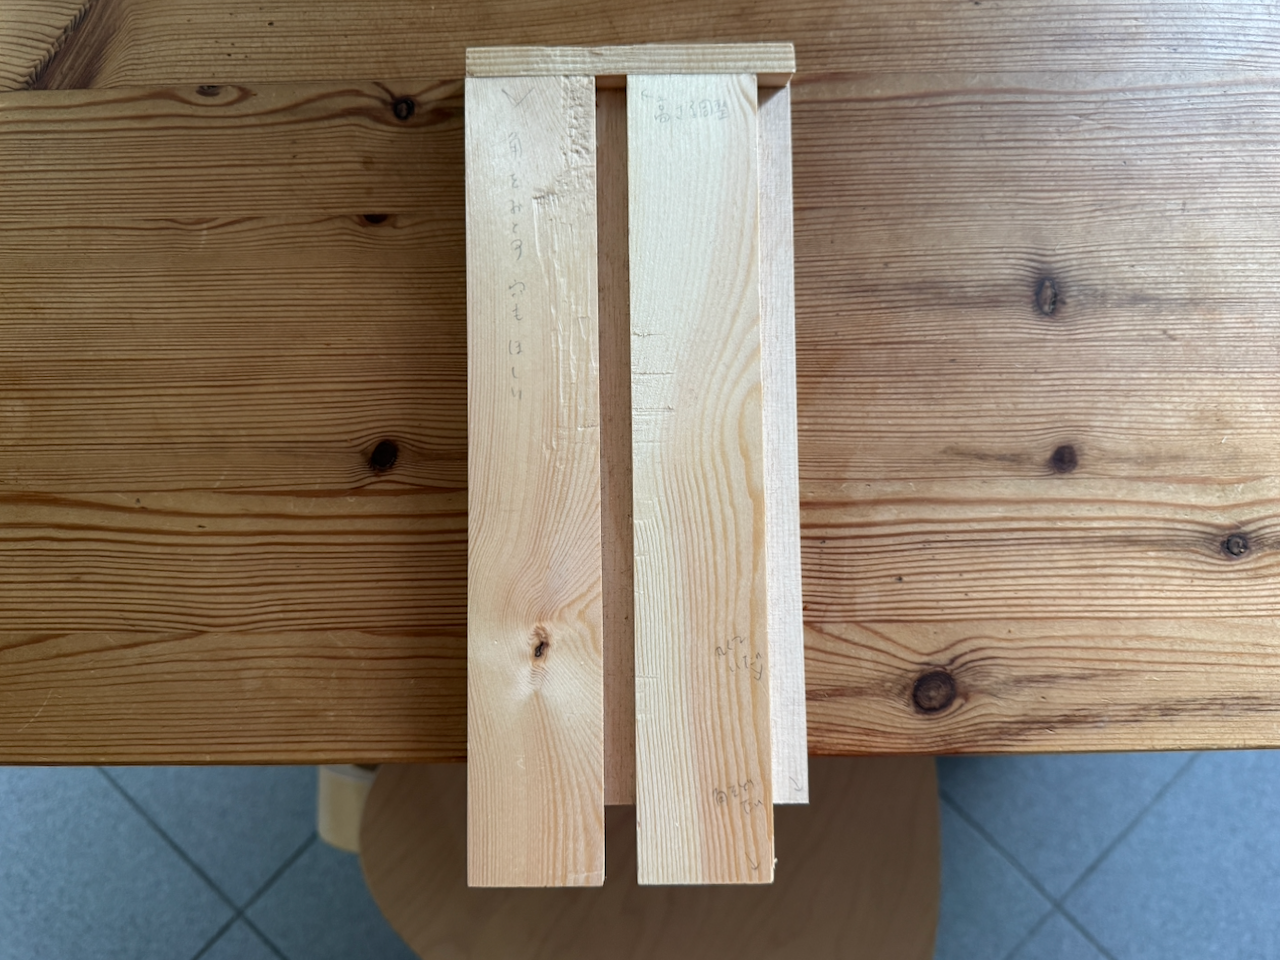
The basic principle is simple: hold a square wooden blank in place and create a slight angle so that the chopstick becomes gradually thinner toward the tip.
As shown in our really first prototype below, make a groove to hold the wooden blank. First, plane the blank so that all four sides are even. Then place a small piece of wood under the tip to create the taper. This simple setup works in much the same way as the CNC- and 3D-printed version.
For the prototype, the wood pieces were cut at a local hardware store and glued together with wood glue.





.png)

.png)
.png)
.png)